Summary
This post explains how to update the Crucial firmware on a Macbook Pro without a DVD drive. I think it's outrageous that Crucial sells a drive that requires this level of work to update the firmware. And you can't not update it. The drive literally becomes inoperational after a certain number of cycles without this firmware update. At this point I wouldn't recommend anyone with a Macbook Pro buy one since requiring this level of technical expertise to update firmware is insane.

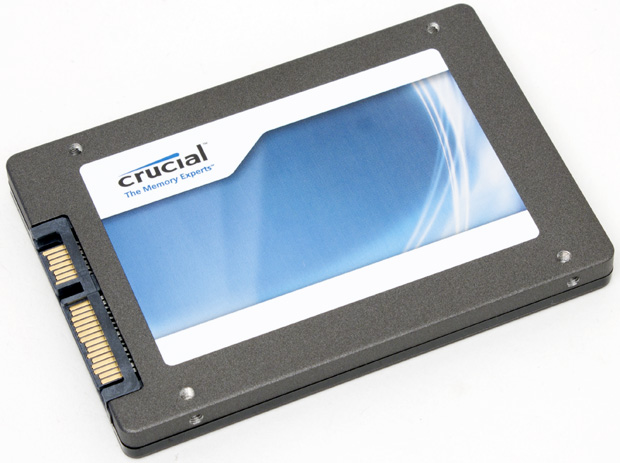
Last week I replaced the harddrive in my Macbook Pro with a Crucial M4 drive. I put the original harddrive back in the machine in place of the DVD drive, leaving me with a machine with no DVD, but a terabyte of diskspace between the SSD and the HDD. The SSD is amazing. My machine is blazing. I couldn't be happier. There was just one small problem.
If you know much about SSD drives in Macbooks, at this point you're thinking "you sorry sucker." Here's why: the firmware on the SSD drive needs to be updated. Mine came with firmware version 9, not the latest. A little sticker in the package said "update the firmware." Here's the problem: there's no good way to do it without a DVD drive installed in the machine. Crucial provides exactly one way that involves booting from a CDROM and it won't work from a USB DVD drive--at least I couldn't get it to.
This post outlines what I did to update the firmware. This is not for the faint of heart. If you aren't comfortable with the following steps, I suggest taking the drive out and putting it in a Windows box to update the firmware. These instructions assume you have VMWare Fusion and a Windows virtual machine available.
Here's the overall idea: Crucial supplies a bootable linux image that updates the firmware. You have to find a way to boot it. We're going to create a partition on the HDD (not the SSD), make it bootable, put the Crucial update files on it, and boot it. Easier said that done, as it turns out. Here we go...
- Make sure the data on the SSD is backed up. You shouldn't need this, but it's always a good idea.
- Open up Disk Utility and create a small partition on the HDD drive (not the SSD). The smallest partition Disk Utility would create for me is 10Gb. That's about 200 times too big for what we need. If you want what's on the drive, then try to shrink the partition. If that doesn't work, then you'll need to blow it away and repartition the disk. Note that repartitioning the drive destroys any data on it, so if you want it, save it first.
- Make sure the small partition is formatted for FAT and that you've selected the Master Boot Record option. Name it Syslinux
- We need to mount this partition on the Windows virtual machine. VMWare supplies a program called vmware-rawdiskCreator that will do this. In Fusion 4, it's located in /Applications/VMware\\ Fusion.app/Contents/Library/. Run this from a command line and it will give you instructions. The print option will tell you about the partitions on disks you have. I don't believe you can damage your disks with this since I think it's merely reading data from the disks and creating the vmdk file:
vmware-rawdiskCreator print /dev/disk1
Your drive might not be disk1. You can get the number in Disk Utility by highlighting the drive and clicking the blue Info button in the toolbar. The data shown by vmware-rawdiskCreator should clearly indicate the FAT file system and you should be able to tell it's the right size. Note the number on the left column (probably a 2 if you made Syslinux the second partition on the disk). - Use the vmware-rawdiskCreator command to create a drive in the directory where your Windows virtual machine is located. Mine was installed in ~/Virtual Machines/Windows 7 x64.vmwarevm/. Let's call that <windows-directory>. You're going to create a virtual disk that maps to the physical disk like so:
vmware-rawdiskCreator create /dev/disk1 2 \\\\
    <windows-directory>/syslinux ide
This will create the files <windows-directory>/syslinux[-pt].vmdk. - Make sure the Windows VM is shutdown (not merely suspended) and then edit the file with the .vmx extension in <windows-directory> and add the following two lines:
ide0:0.present = "TRUE"
ide0:0.fileName = "syslinux.vmdk"
- Boot the Window's virtual machine. You should have a new drive that is the physical partition. Note the drive letter. This drive is shared by the Windows VM and your Mac, so files can be placed in it from either.
- Download the latest from the Syslinux project on the Windows machine.
- Start up the Windows command window as an administrator. (e.g. right click and select "Run as administrator.")
- Go to syslinux-4.X/winYY/ in the Syslinux distribution where X is the version of Syslinux you downloaded and YY is either 32 or 64 depending on what version of Windows you have. Mine is 64-bit, so I'll use 64 from now on.
- Run the following command in the Window's command window:
syslinux64.exe -ma -f <driveletter>
Of course <driveletter> is the drive letter of the Syslinux drive you noted above. - Now, download the Crucial firmware update files from the Crucial site. There will ISO image with a /boot/isolinux directory. Copy the contents of that directory onto the Syslinux partition you created. (You can do this from the Mac or the Windows VM. Doesn't matter.)
- Rename the ISOLINUX.cfg file to SYSLINUX.cfg. Note: this and all the other Crucial files should be in the root directory of the Syslinux partition.
- Download and install the latest version of rEFIt on your Mac. This will allow you to select the Syslinux partition for booting. People have reported problems getting rEFIt to work with Lion, but I didn't experience any.
- Now reboot. REFIt should come up and give you the option of booting from the Syslinux partition. Choose that partition. The Crucial program should come up and run automatically, asking you if you want to update the firmware. Select "y" and you're on your way.
Wasn't that fun? Now you've got a partition you can boot from the next time you need to update the firmware on your drive. You can disable rEFIt so you don't have to select the OS X partition every time. Or you might want to install Linux on that spare harddrive space and dual boot.
I think it's outrageous that Crucial sells a drive that requires this level of work to update the firmware. And you can't not update it. The drive literally becomes nearly inoperational after a certain number of cycles without this firmware update. At this point I wouldn't recommend anyone with a Macbook Pro buy one since requiring this level of technical expertise to do update firmware is insane. Crucial needs to supply a method that doesn't require booting a Linux image.


